Recent Posts
ATV Studded Tire Chains Installation and Adjustment
Aug 27, 2025
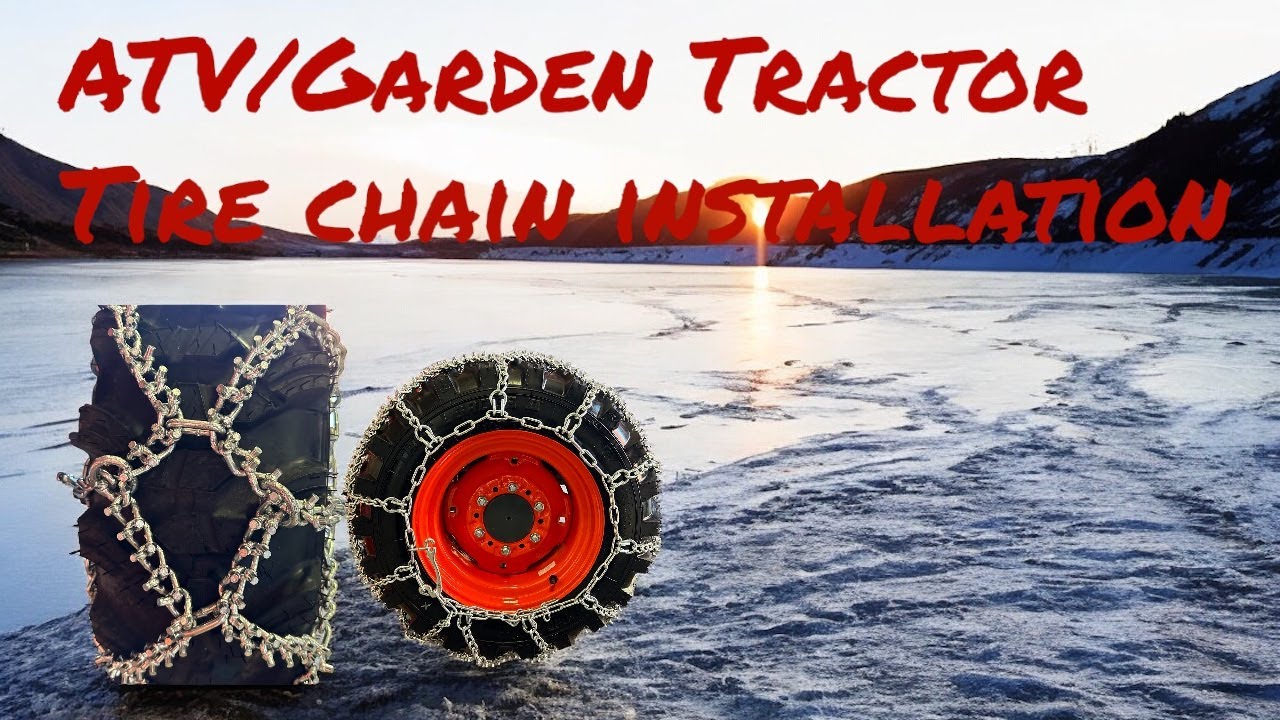
ATV Studded Tire Chains — Installation & Adjustment Guide
Studded ATV diamond chains are ideal when you need maximum bite on ice and hard-pack without the rough ride of basic ladder chains. This guide explains how to install them correctly and how to deal with chains that seem too long or too short.
Why Our Studded Chains Are Different
Important: When comparing studded ATV chains, always make sure you’re getting two studs on every link, not studs on every other link.
- OURS: 2 studs per link; high-strength alloy 10B21 steel; zinc coated.
- THEIRS: 2 studs on every other link; standard grade R56 steel; often clear coated and thinner.


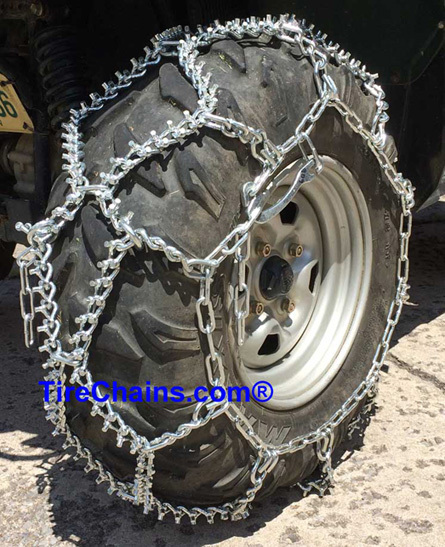
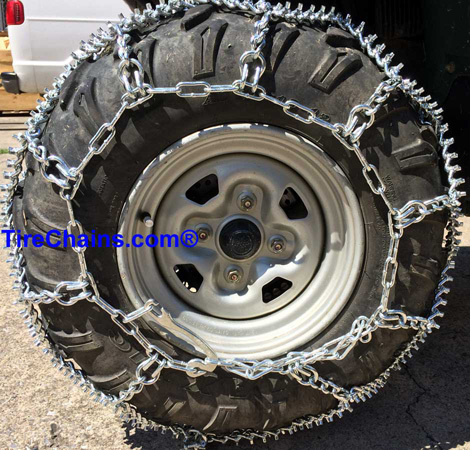
How to Install ATV Studded Diamond Tire Chains
These instructions apply to our ATV studded diamond chains. The diamond pattern keeps the chain riding on top of deep lugs and gives smoother, more consistent traction than straight ladder chains.
Step-by-Step Installation
- Lay out the chains. Spread the chains flat on the ground and remove all twists. The studded side should face down toward the ground before you drive onto them.
- Check hook direction. The sharp, open side of the side-chain hooks must face down. If they face up, the studs will sit wrong on the tire and can cause damage.
- Find the ends. Locate the gathering rings on one end of the chain and the two center tails on the other end.
- Drive onto the chains. Drive the ATV onto the chains, leaving about 1 foot of chain behind the tire. Stop, then pull the rear section up and over the tire to meet the front section.
- Connect the inside (C-hook). On the inner side of the tire, hook the C-hook through the nearest convenient link in the side chain.
- Lock the inside connection. Fold the C-hook back and clip it onto the link so it cannot work loose while driving.
- Thread the tails through the rings. Take one center tail, route it through its matching gathering ring, and pull it tight.
- Secure with shackles. Pull that tail down toward the side chain on the same side and fasten it with the shackle. Repeat on the opposite side with the second tail.
- Final tension / re-check. Tighten the side-chain fasteners (boomer or C-hook) to remove slack. Drive a short distance, stop, and re-check. Re-tighten if necessary.
Note: Some adjustment is normal. Chains are built to fit a range of tire sizes and tread designs. If the cross-chain width is correct, you can safely shorten overall length.
If Your Diamond ATV Chains Are Too Long
Having extra side-chain length after installation is common and can be trimmed. Before you cut anything, always make sure the chain pattern sits evenly across the tread.


Use a grinder or bolt cutter to remove only the excess links shown. Do not cut into the cross-chains—they’re part of the traction pattern.
If Your Studded Diamonds Appear Short
Chains often appear “too short” when the side chain is pulled too tight, which drags the pattern off the tread and leaves a large gap across the tire.

If you notice this:
- Loosen the side chain slightly and re-seat the chain so the diamonds sit evenly on the tread.
- Ensure both tail chains share tension evenly through their gathering rings.
- Re-tension gradually, rolling the ATV a few feet between adjustments.
Replacement Shackles & Hardware
When replacing hardware, we recommend:
- 3/16″ clevis pin / shackle – correct size for our ATV diamond tire chains.
- Quality, zinc-coated hardware to match the corrosion resistance of our chains.
If you’re unsure about fit or adjustment, visit our ATV chains page or contact us, and we’ll help you get set up correctly.